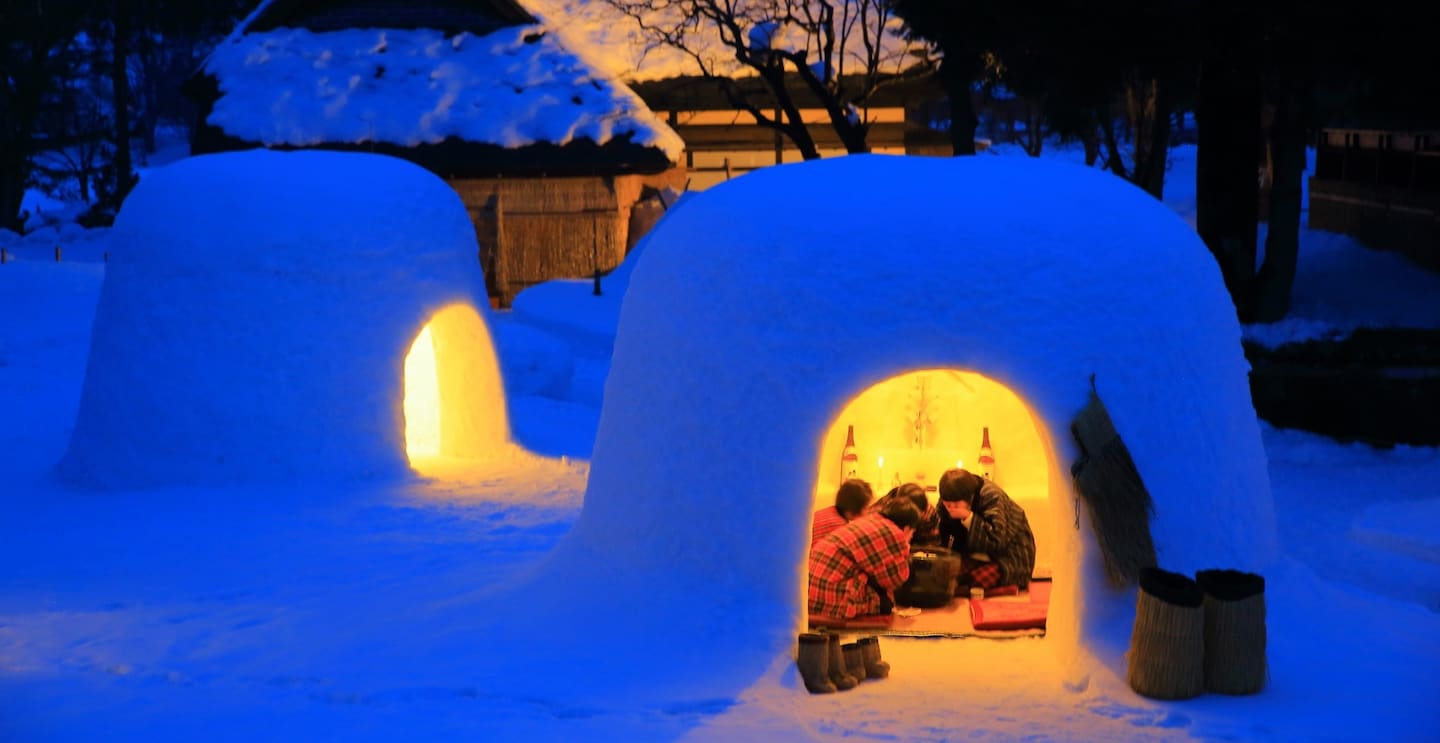
How to Build a Full-Scale Japanese Igloo

Have you ever wanted to build an igloo? Yokote in Akita Prefecture is very famous for its igloo making festival, called kamakura. We'll show you the traditional method of building snow huts just like they do in Yokote.
By Masayoshi Sakamoto (坂本正敬)1. First Things First
To start, you'll draw a 3.5-meter (11.5 ft) circle on a snow-covered field using two sticks and a rope. Fasten the rope to both ends of the bars and stick one into the ground as a center point. Grab the other stick that wasn't pushed into the snow and stretch it out until it's taut. Revolve around the center point using the stick in hand to draw a circle. It should feel like a large-scale school project as if you were using a compass drawing tool.
2. Pile it Up
Using a shovel, pile the snow up within the circle until the height is around 3 meters (10 ft). Don’t forget to solidly press the snow with the soles of your feet and your shovel while piling it up. Three meters is equivalent to the height of three shovels stacked vertically.
3. Show Them the Door
Using a wooden stick, draw a line where the entrance will be. Standard dimensions for the entrance should have a width of 0.7 meters (2.3 ft) and height of 1.3 meters (4.3 ft).
4. Making Room
Next, dig out a room in the snow hut, ideally with a friend. As you remove snow from the inside with a shovel, your partner can carry the snow away with a sled. Make sure that the walls of the dome are all about 70 centimeters (28 in) thick. You can measure the wall thickness by using long wiry branches with a 70-cm marking into the walls.
5. The Finishing Touches
Laying a rug on the floor of the snow hut makes the room more comfortable. If needed, make a snow chair or table inside. And your igloo makes for a great bar, so make a shelf and chill your drinks naturally.
You can boil water with a camping burner or bake mochi rice cakes on a portable stove in the snow hut (for a short time of course). To avoid carbon monoxide poisoning, be sure not to block the entrance of the snow hut. As the thick wall shelters you from the chilly winds, you can enjoy the warmth waiting for you inside a Japanese snow hut!


