Summer In Japan: Make Your Own Fruit Liqueur
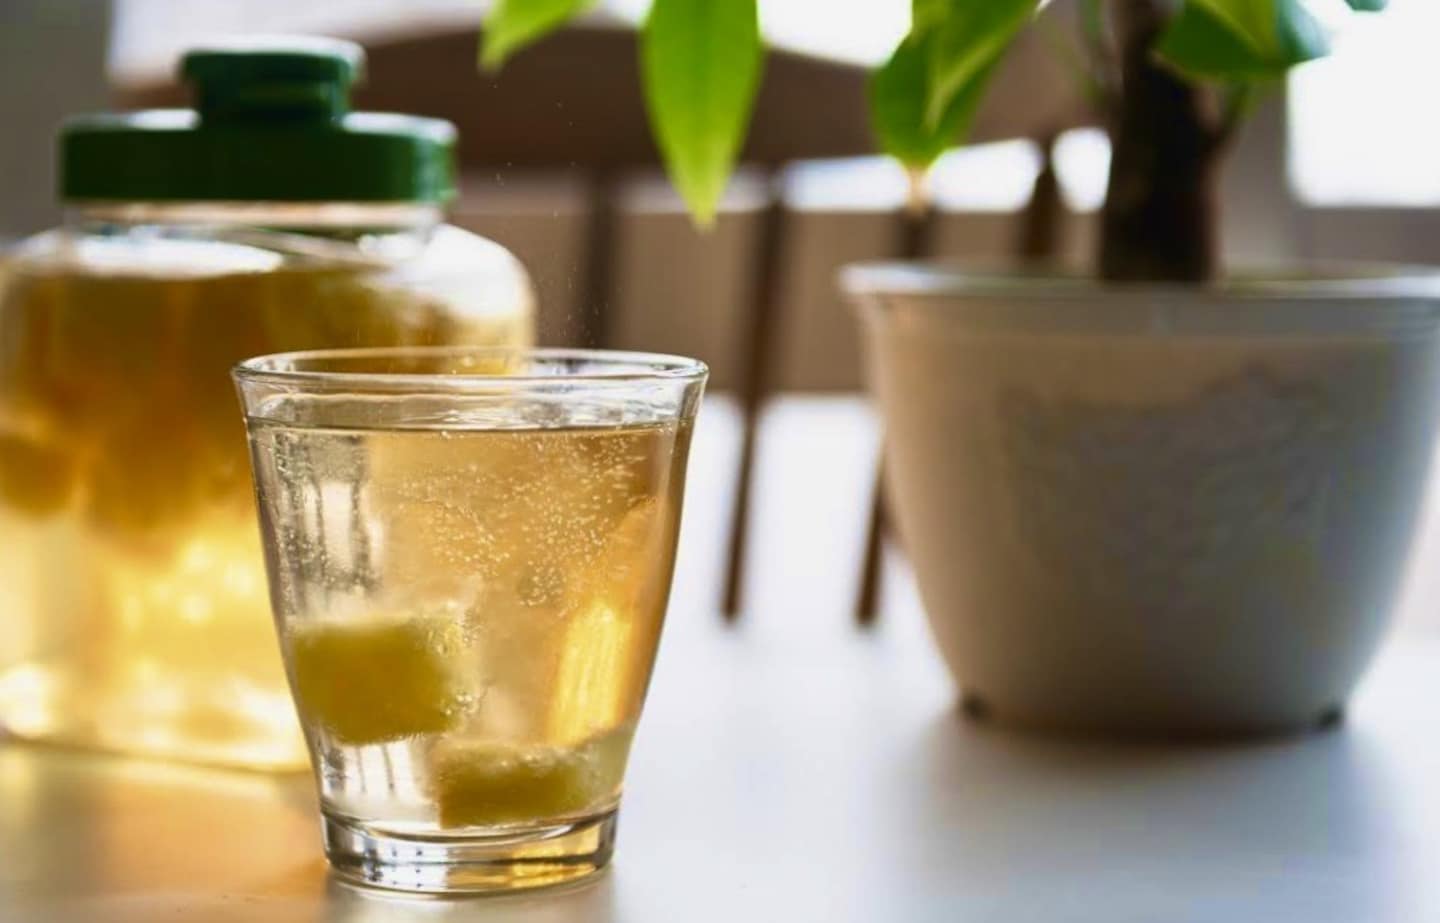
Much of Japan’s culture and its food is linked to the changing of the seasons. In winter you will find baked sweet potato, known as yaki imo, warmed over hot coals, while autumn sees rice harvested for use in the year’s first batches of sake. This seasonal availability also applies to fruit, and fruit liqueurs.
By Ben CookeMade using unripened ume Japanese plums, the brewing of homemade umeshu has been a long-standing tradition in Japanese households. When the practice first began, the plums would be steeped with sugar in sake, but today it is more common to see the use of white shochu, which has already been distilled.
Taking advantage of the delicious fruits that become available in Japan throughout spring and summer, the tradition has evolved over time to include a variety of ingredients, from apples and strawberries, to even garlic. Yes, you read that right; homemade garlic liquor is on the menu in Japan.
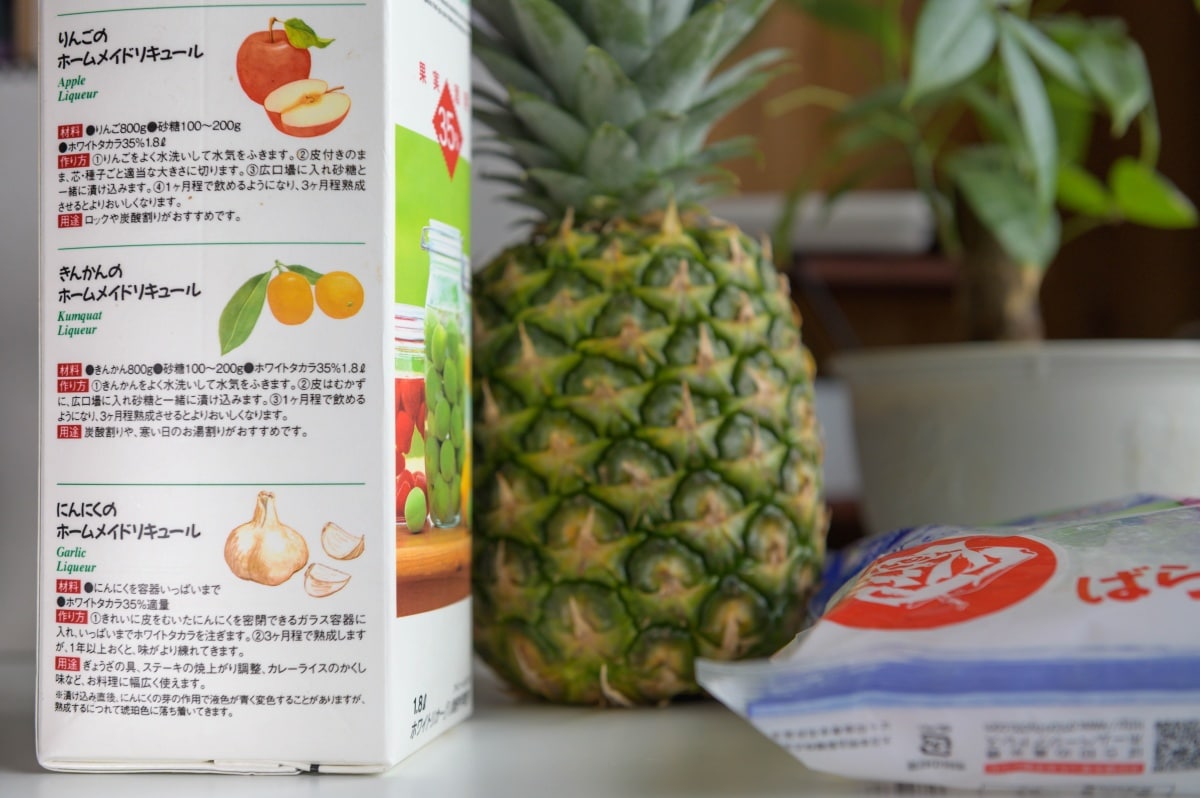
The various recipes for homemade fruit and garlic liquor.
But what makes these alcoholic drinks so much fun today is the ability to make them on your own. While fruits like plums and lemons are seen as more traditional, there’s nothing stopping you from making a fruit liqueur to suit your own personal tastes, which is why today we’ll be making ours using fresh pineapple.
First Things First: Ingredients
Another great thing about making your own fruit liqueur is how simple it is. For the entire process you need only four things:
-White liquor (shochu)
-Rock sugar
-A suitable container
-Fruit of your choice
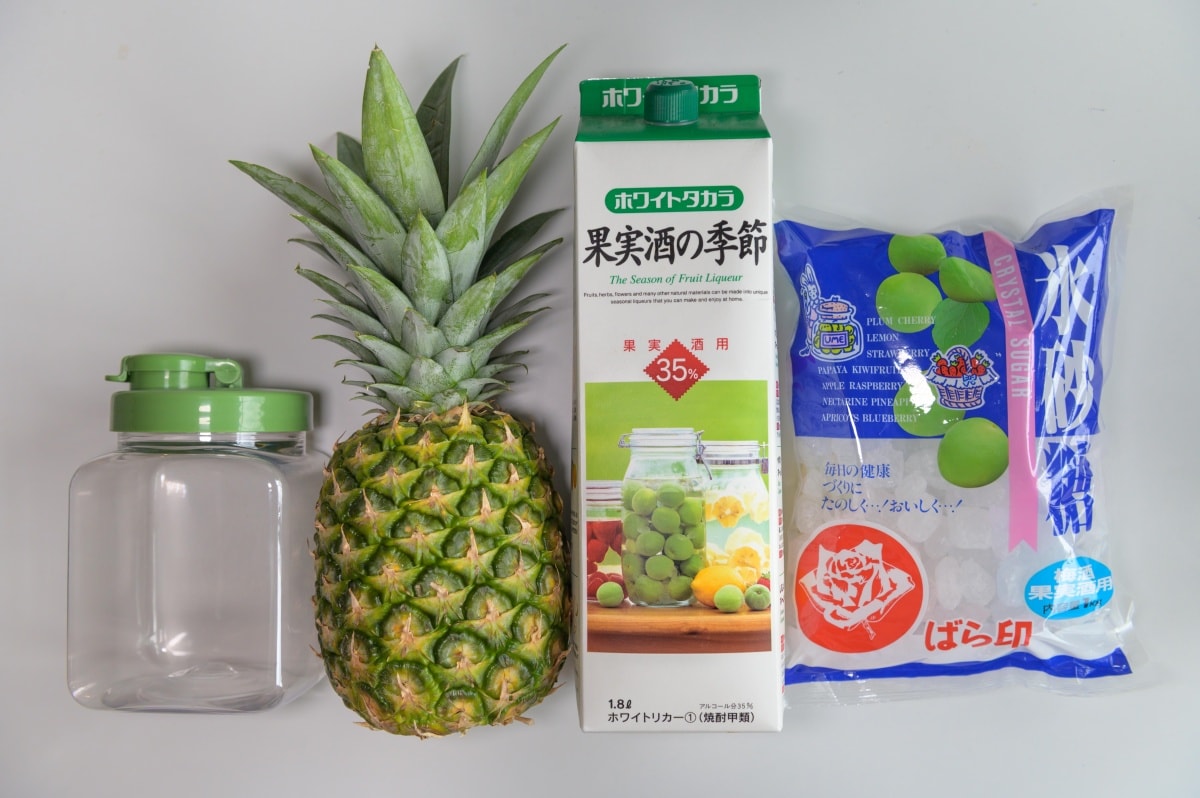
Our fruit liquor ingredients
From around the middle of May, most grocery stores begin stocking the specific items required for making fruit liqueur, and they’re usually found together in one place.
The shochu is often specifically branded as the base for making fruit liqueur as well, making it easy to identify, and comes in varying sizes depending on the batch size you would like to make. We purchased a 1.8 litre bottle for just over 1300 yen.
The rock sugar typically comes in 1-kilogram bags, which we picked up for 375 yen. It is best to use this particular type of sugar as it dissolves faster than powdered sugar, making it more appropriate for this process. But if you’re someone who prefers a drink less sweet, you can leave the sugar out entirely.
Plastic containers designed for storing the fruit liqueur are often sold alongside the other ingredients and usually range in price from 600-1000 yen depending on the size. These typically have rubber seals which are great for ensuring the contents are kept airtight.
Lastly, the fruit. This is where you get to use your imagination and let your tastebuds decide! Apple, kiwi fruit, strawberry, lemon, pineapple, and the aromatic Japanese citrus called yuzu are all great options.
The Process: Making Your Fruit Liqueur
Step 1: Clean
Before doing anything else, ensure that the container you plan on using has been thoroughly cleaned. An effective method for cleaning is to wash with water, dry, then rinse some of the alcohol to be used in the fruit liqueur through the container. Wipe dry with a clean towel and you’re ready to begin!
Step 2: Prepare your fruit
Firstly, ensure that your fruit of choice is clean by rinsing it with water to remove any dirt. Then using paper towels, dry it off to prevent unnecessary water from being added into the batch.
Next, (and this part will vary depending on the fruit you are using), ensure that all inedible parts of the fruit are removed. This includes any stems, leaves, and inedible skins. If left on, these unwanted pieces can end up floating around in the final product, creating the extra work of removing them before drinking.
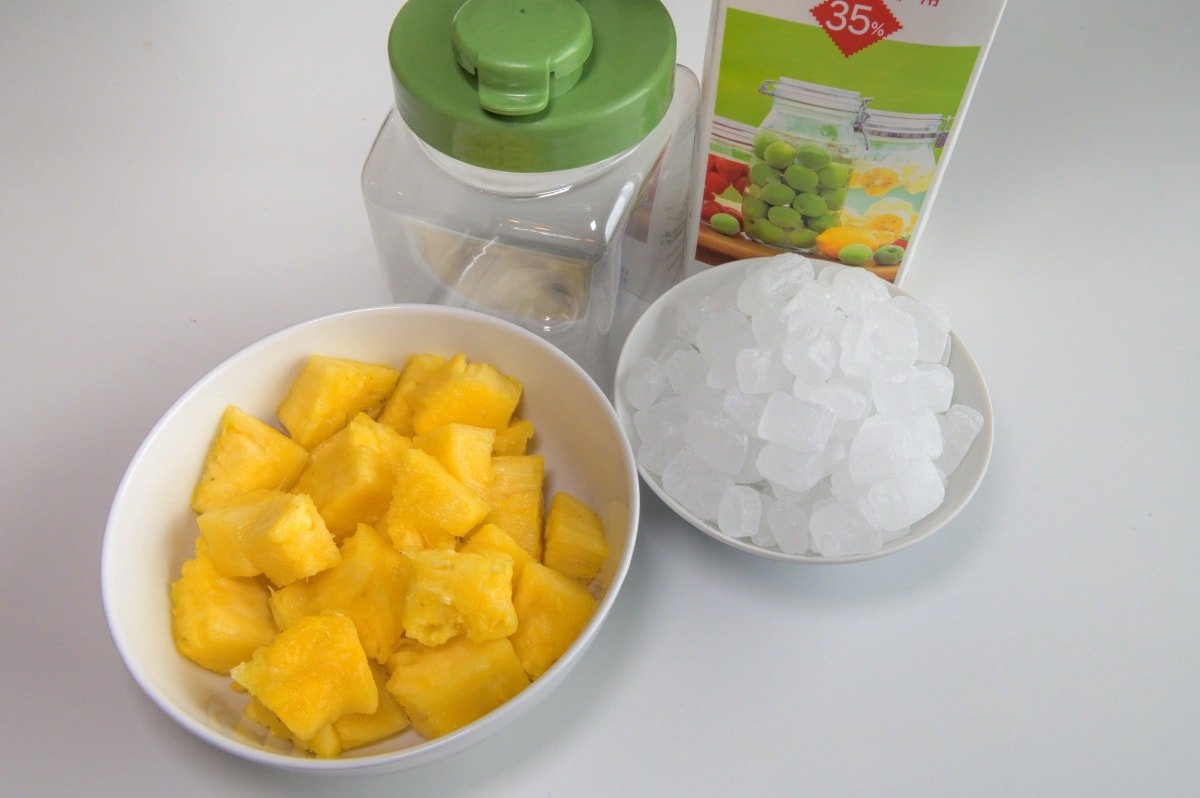
The prepared pineapple and rock sugar.
Finally, cut the fruit into smaller pieces. By doing this, you not only expose the internal flavor to the surrounding alcohol, but make it easier to fit the fruit into your container along with the rock sugar.
Note: this step does not apply to traditional umeshu, where the plums are left whole, and using a toothpick or skewer, the skin is pierced to allow the alcohol to soak the fruit and vice versa.
Step 3: Put It All Together
Now the fun part! Getting everything into the container.
Typically, the amount of sugar used is approximately 50% of the quantity of fruit, but there is no hard and fast rule here. The more sugar you use, the sweeter it will be, so just be sure to keep your personal tastes in mind during this stage.
To ensure an even spread of both fruit and sugar, add these ingredients in layers. But remember that space must be left for the alcohol as well!
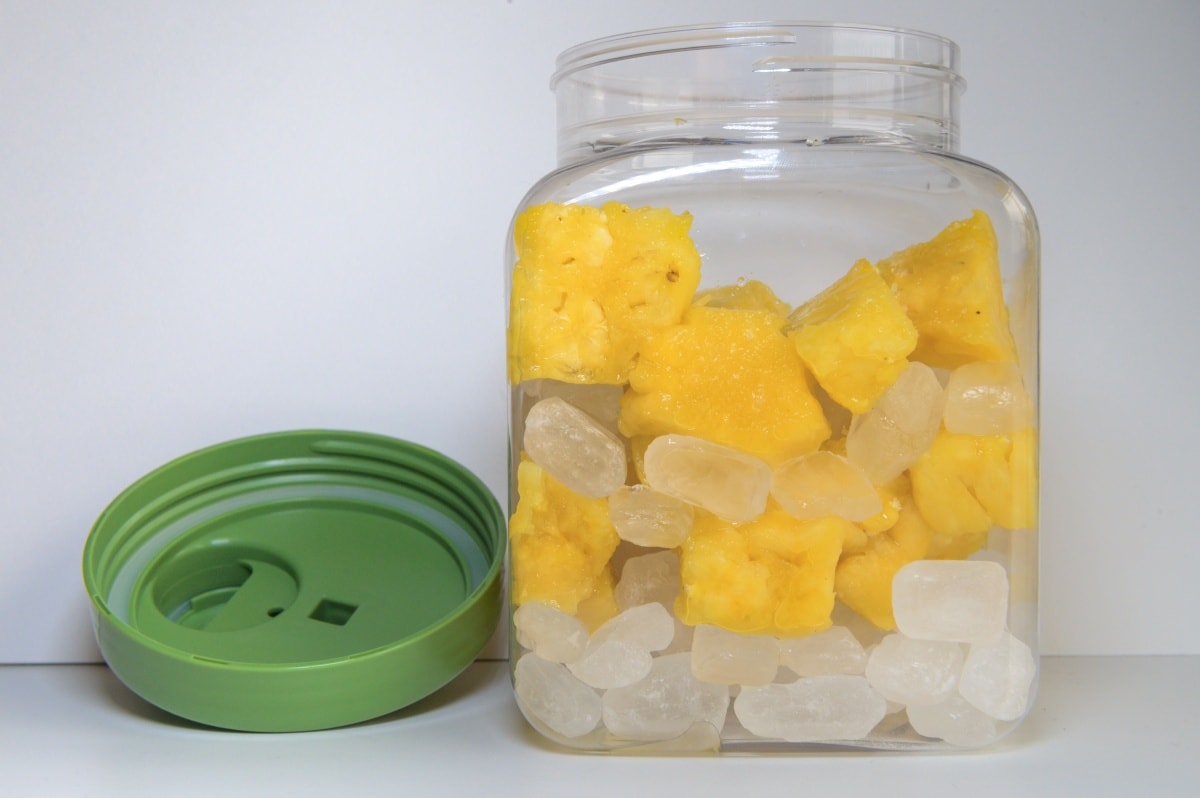
The combined pineapple and rock sugar.
As we are using a slightly smaller container, we are going with a ratio of approximately 50% fruit and sugar to 50% alcohol. Again, keep your personal tastes in mind. The less alcohol is in the mix, the thicker and sweeter the batch will turn out to be. The more alcohol, the thinner and milder it will turn out (but you’ll have more of it to drink!).
With the fruit and sugar added, fill the container to the top with the white liquor. Make sure there's enough liquor to submerge all the ingredients.
Finally, affix the lid, ensuring that it is tightened to create a good seal.
Step 4: Wait
And now comes the hard part: waiting for your fruit liqueur to be ready.
Again, there is no hard and fast rule here, but at the very least you want to let your fruit liqueur sit in a cool, dark place for 3 months. This will give plenty of time for the rock sugar to dissolve and for the fruit’s flavour to be extracted and combined with the alcohol.
However, the longer you manage to leave your batch untouched, say 6 months to a year, the richer and more flavourful it will become.
Pro tip: Use a marker to record on the container the date your batch was made to keep track of when it will be ready.
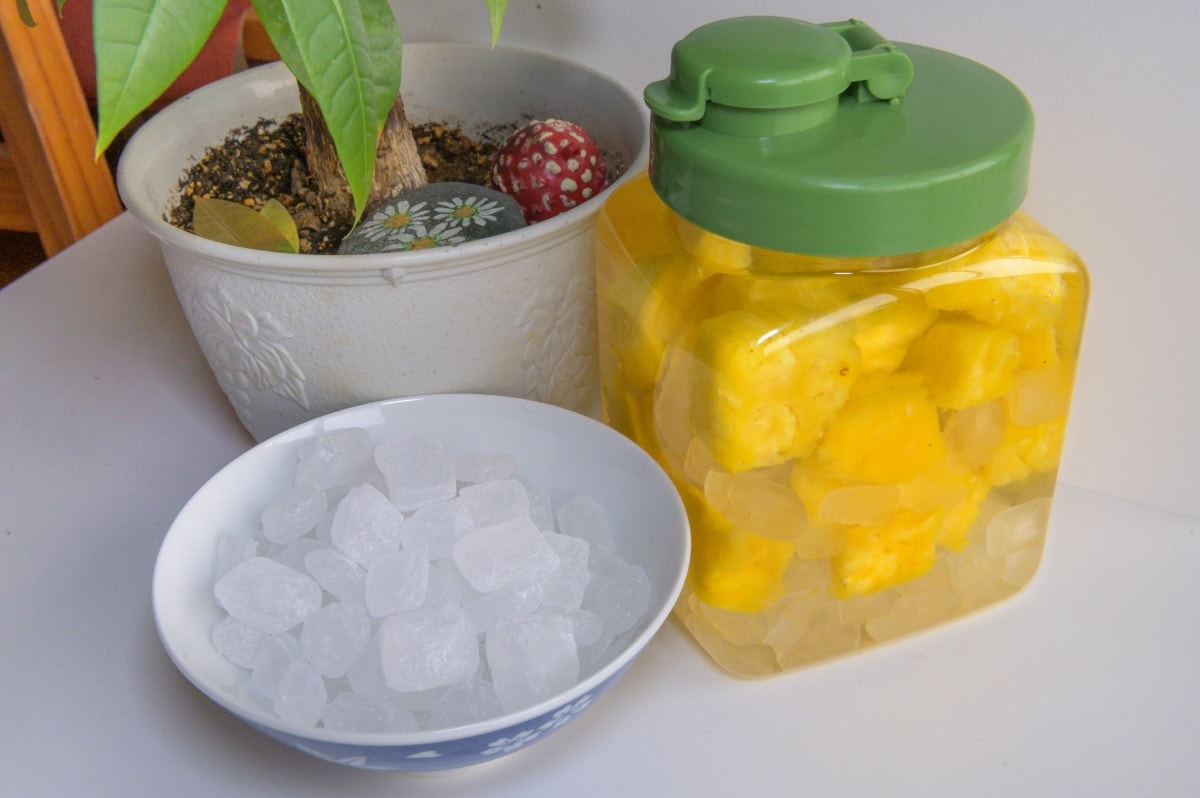
The combined ingredients.
How to Enjoy: Serving Suggestions
When your batch of fruit liqueur is finally ready, there’s really no better way to enjoy it than mixed with some ice-cold sparkling water. The combination of the liqueur’s syrupy sweetness and the carbonated water makes for a refreshing and fruity drink, perfect for those hot Japanese summer nights.
To find the mixture right for you, start with a small amount of the fruit liqueur in a glass and add a mouthful of sparkling water as a taster, then adjust for preference. Remember, of course, to enjoy responsibly.
More Articles on Japanese Liqueurs
100 Best Drinks from Japan: #2 Umeshu
3 Top-Notch Plum Wines
A 13-Point Guide to Japanese Alcohol


