

The Secrets of the Lawson Copy Machine
Sure, you can make copies on a copy machine. But Lawson copy machines also let you fax, scan to a USB memory disk, print PDFs, print photos on proper photo paper, and even send your print information through the internet! And no—you don't need Japanese to do it!
By Lawson StationReading Data
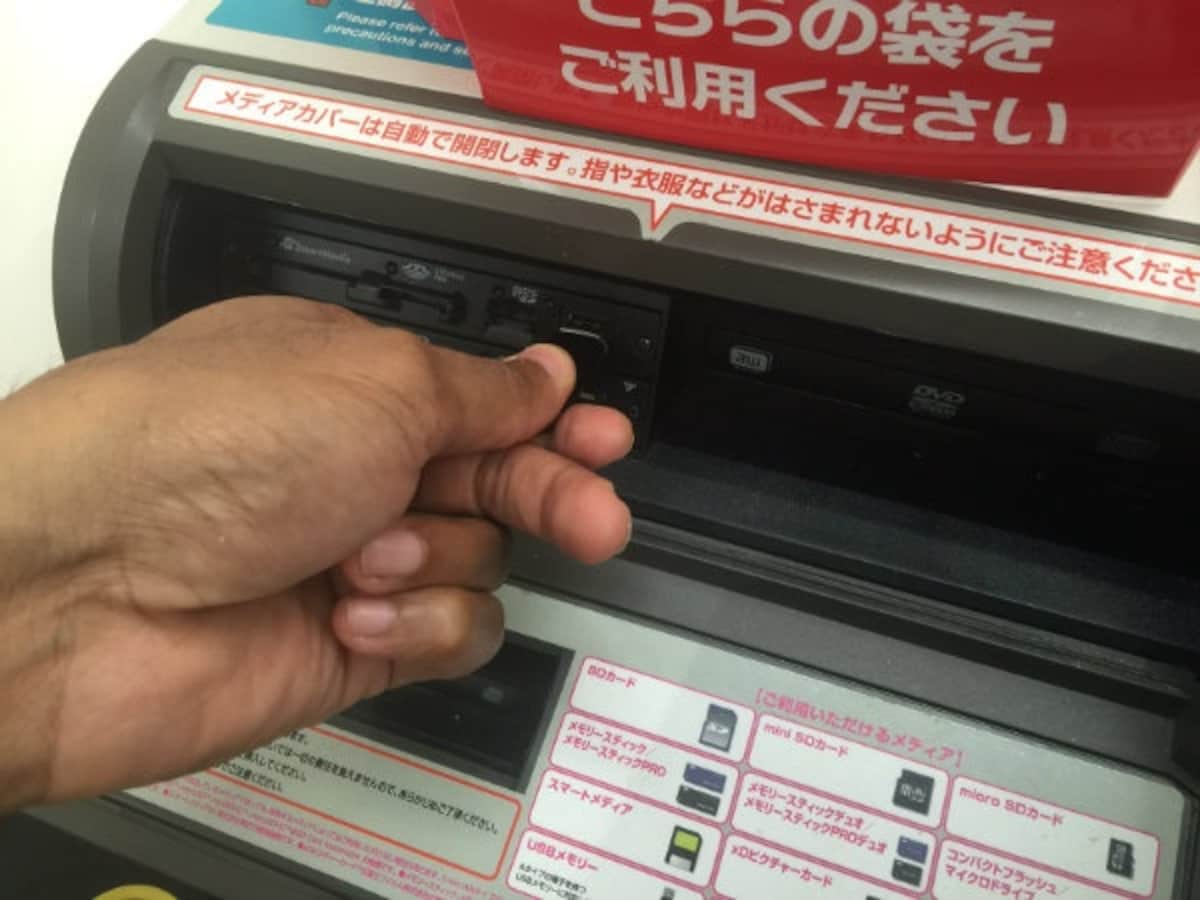
Once you've selected your memory device type, this slot will open at the top of the ancillary unit attached the machine. Inside, you'll find a variety of ports and even a DVD tray. Just insert your memory device into the appropriate slot.
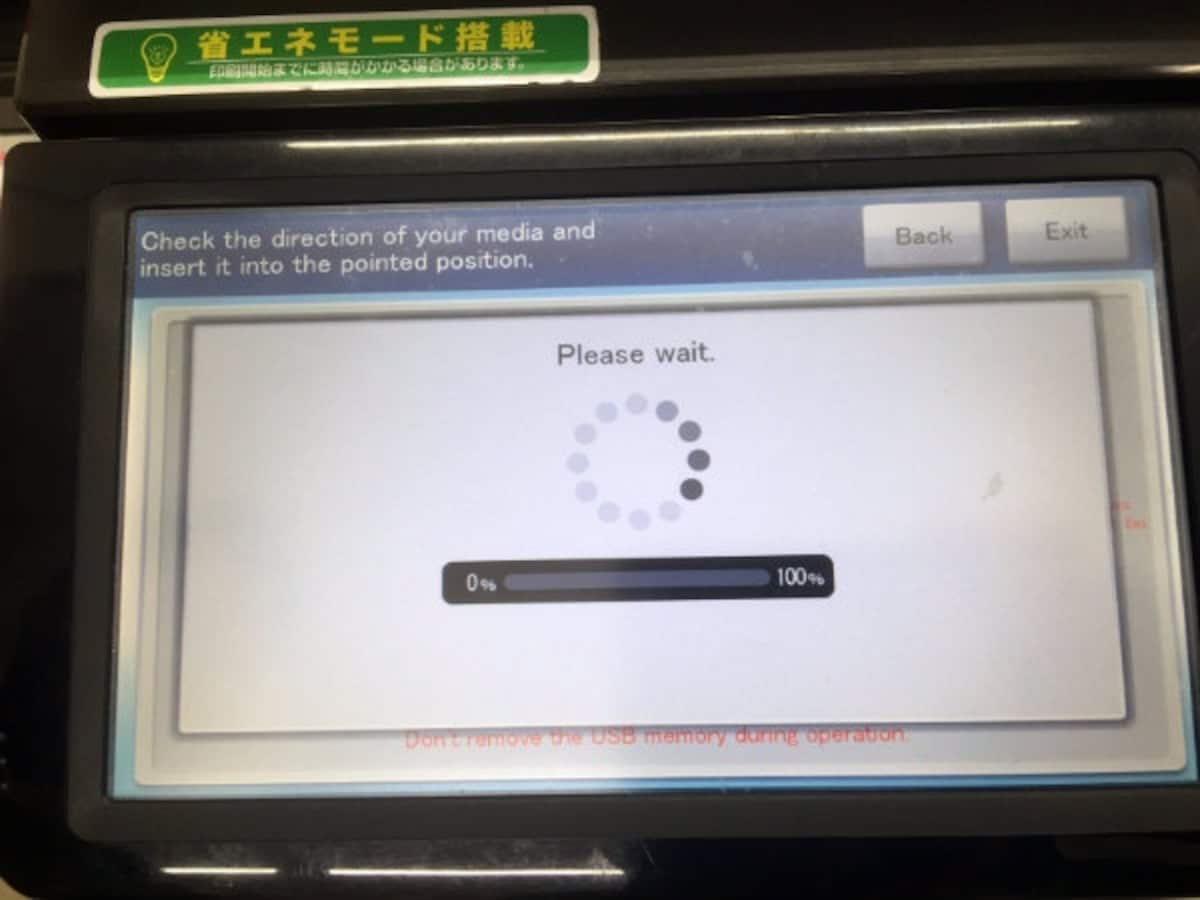
It will take a few moments to load. Just wait. If you have a lot of data on your device, it may take some time.
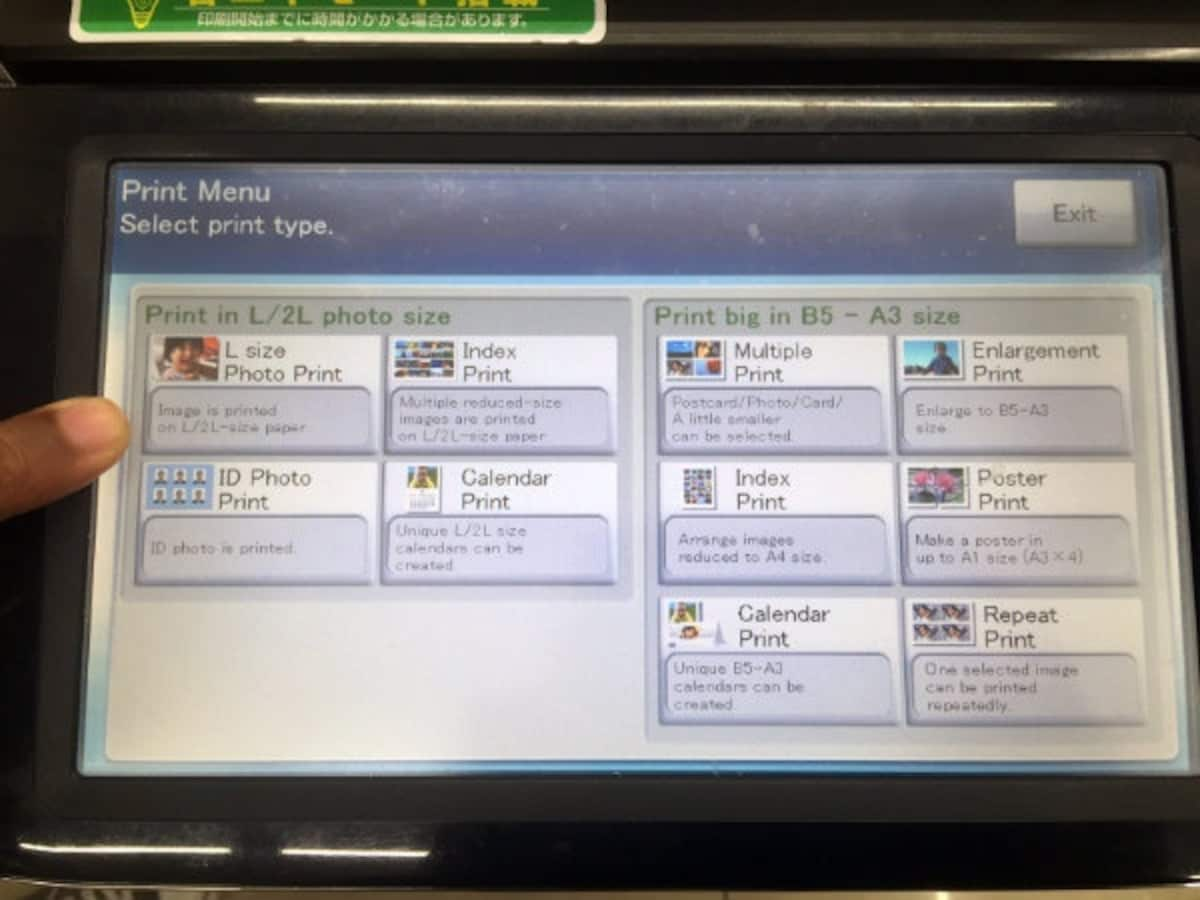
Since we've selected Photo Print, now we can choose our photo size. You can actually go quite big!
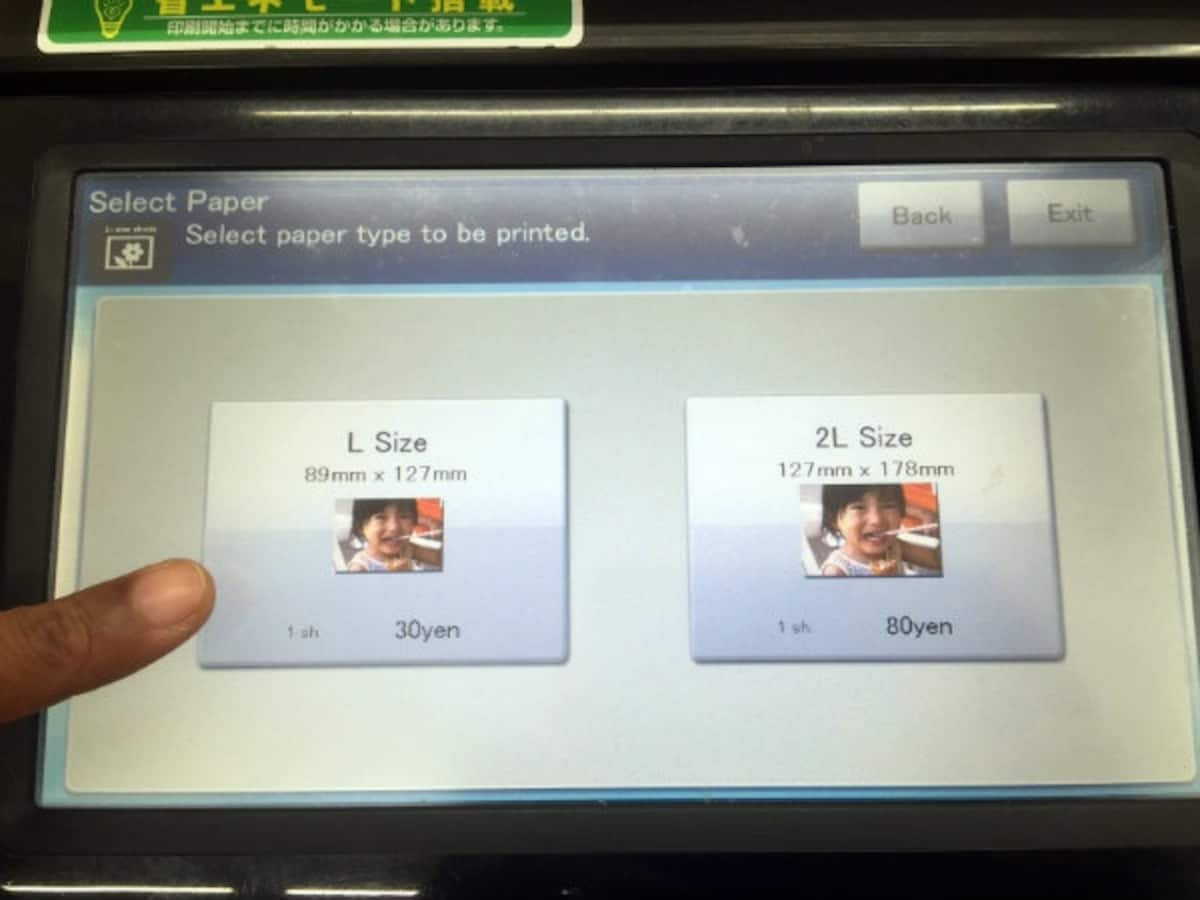
We'll just go with L size (89 mm x 127 mm/3.5 in x 5 in).
Choose Your Photos
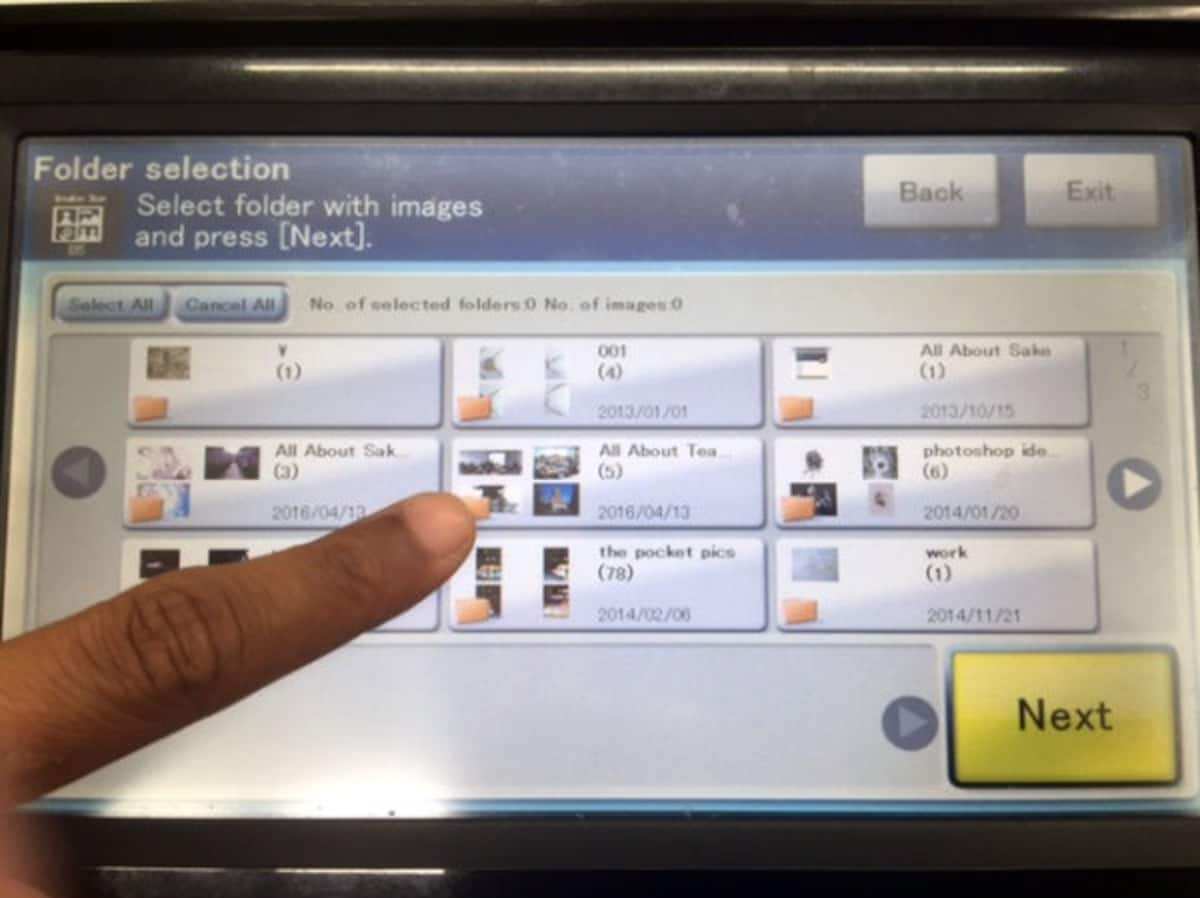
Select the appropriate folder in your memory device.
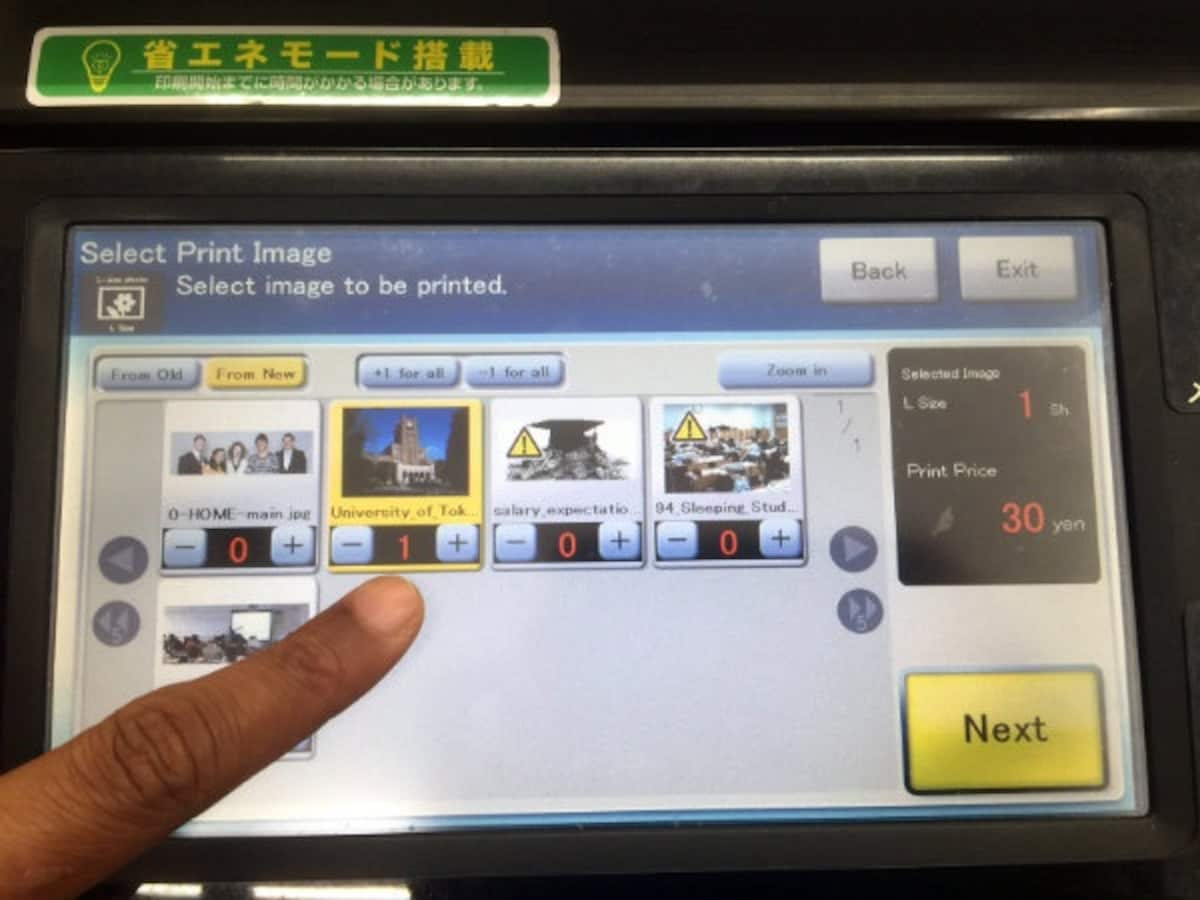
Select the number of copies of each image you'd like. You can select multiple copies of several photos in the same folder. As you press the + sign, you can see the price tally on the right.
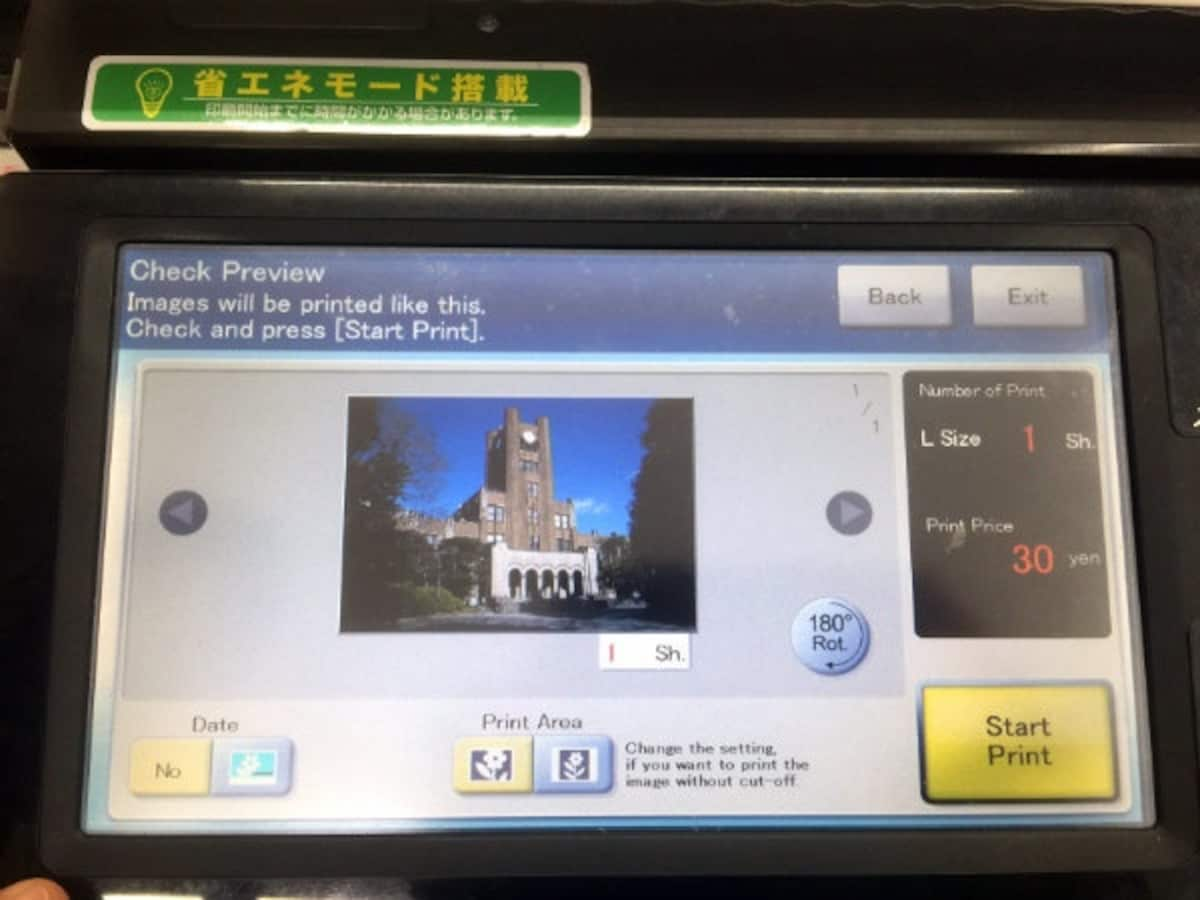
You can make a few minor adjustments before printing, including adding the date and making a minor adjustment to the printing area. When you're ready, hit Start Print.
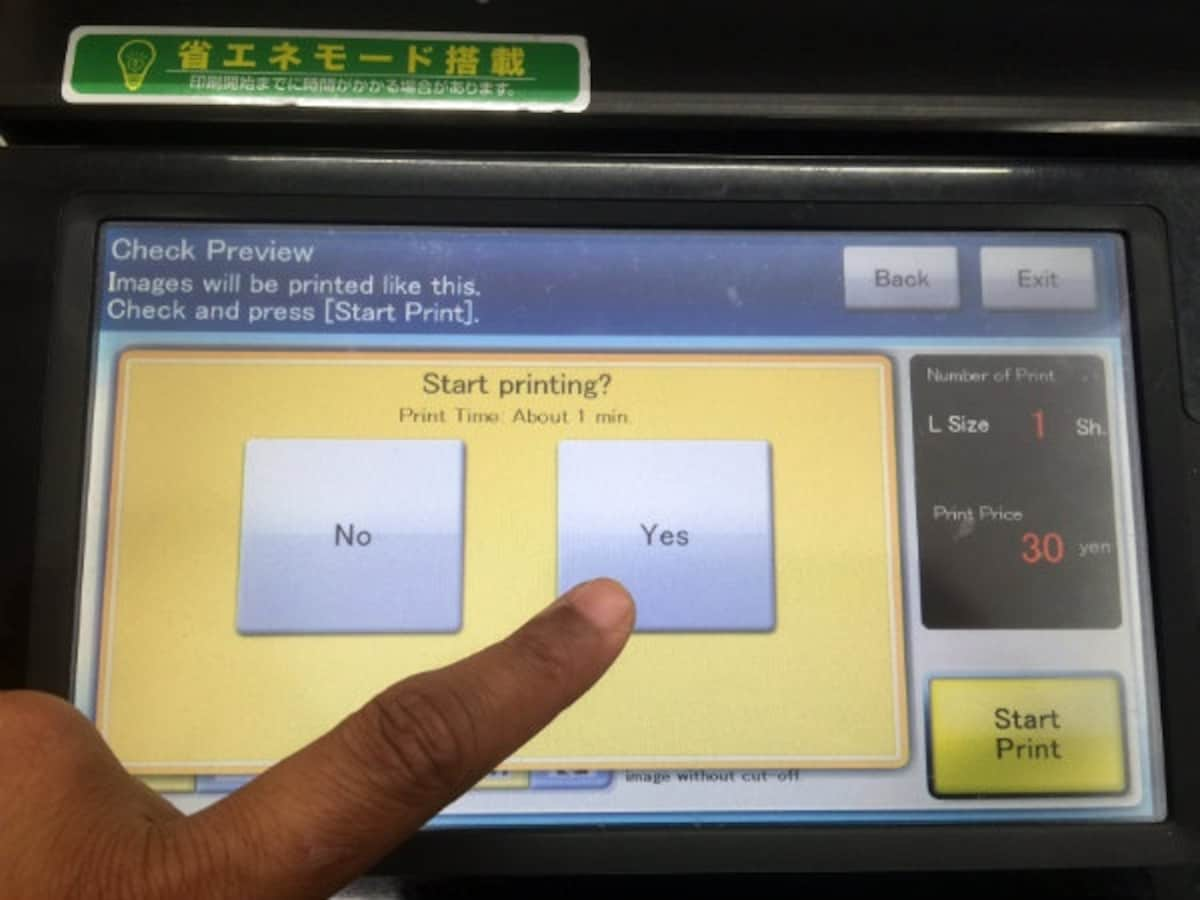
You'll get an estimate of the total print time. If that's fine, hit Yes.
Payment
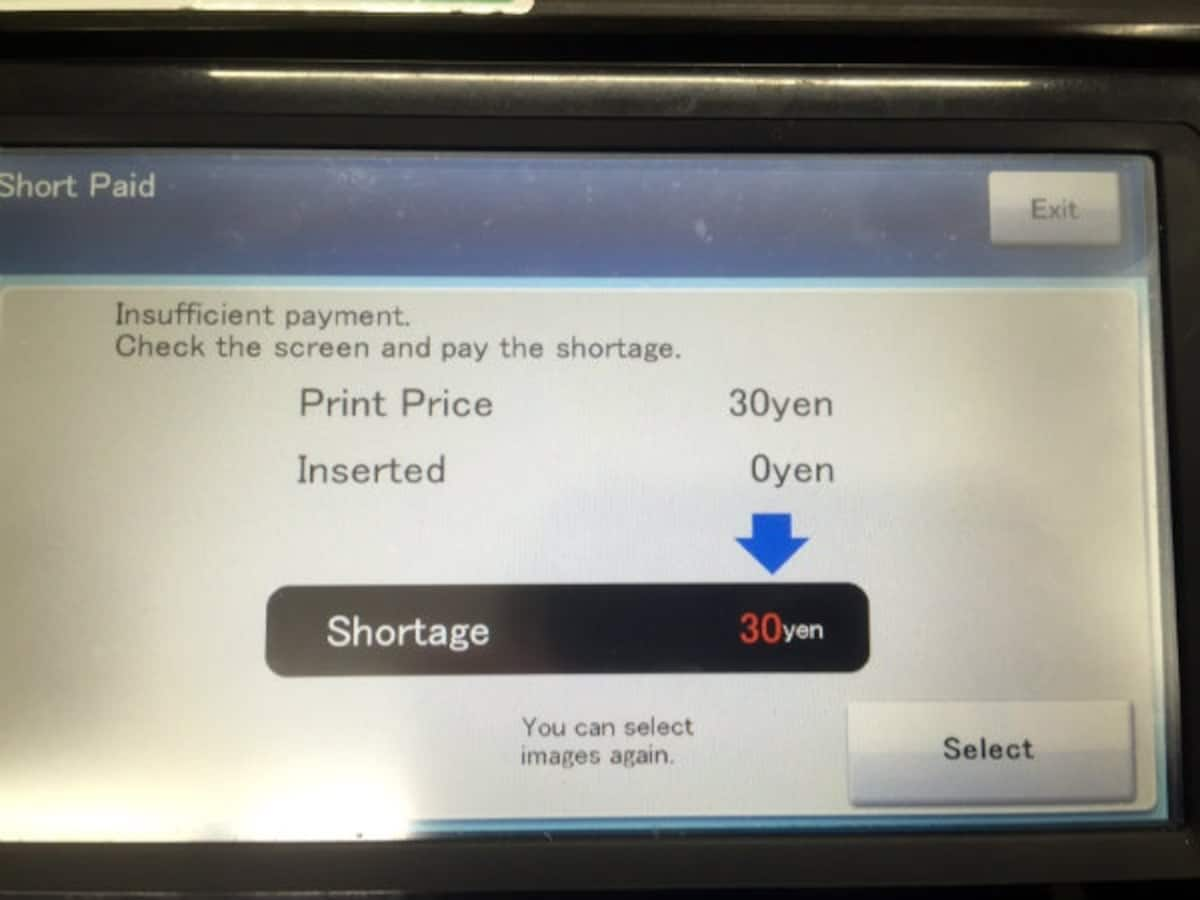
If you haven't put money in the machine yet, you'll be asked to add it at this time.
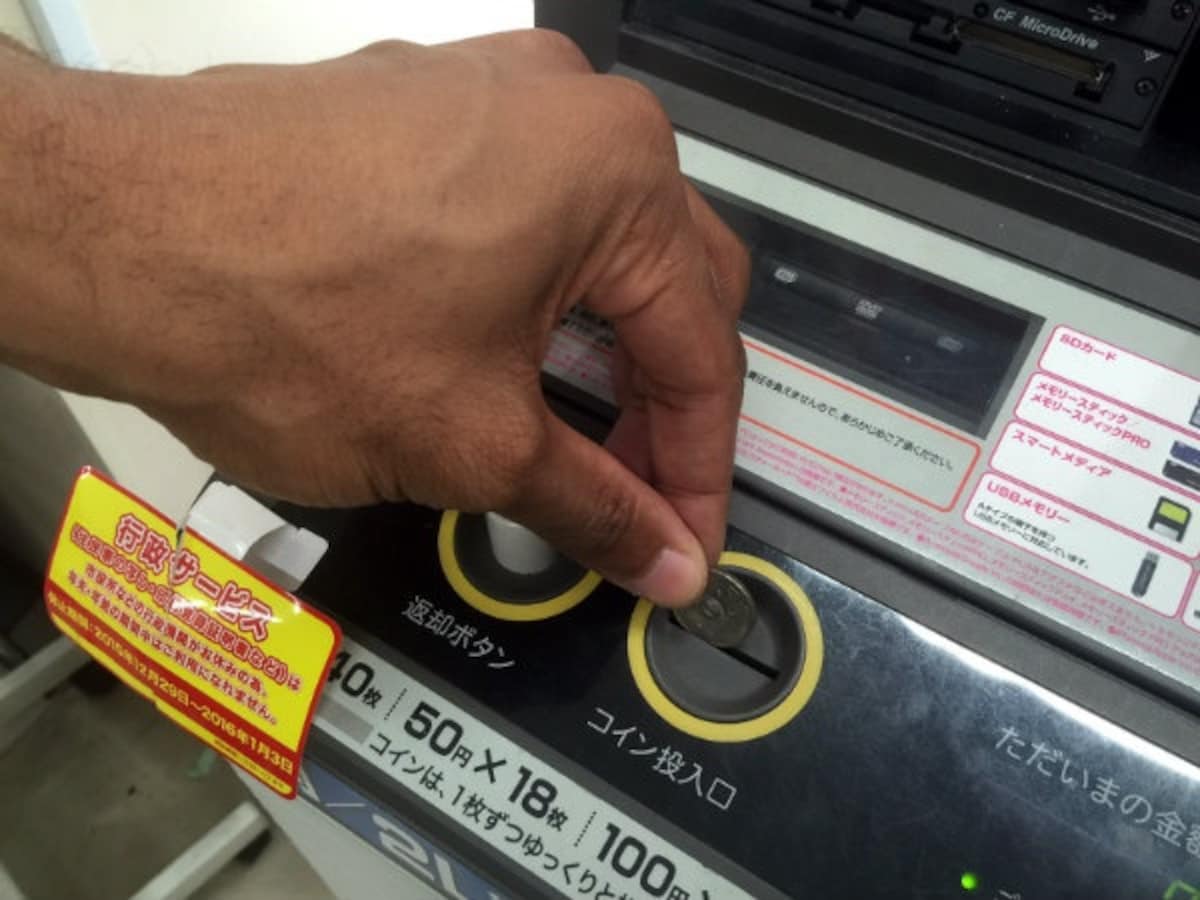
Put coins in the ancillary unity on the side of the machine. Alternatively, you can also use the bill slot below to insert a ¥1,000 bill—so there's no need to get change!
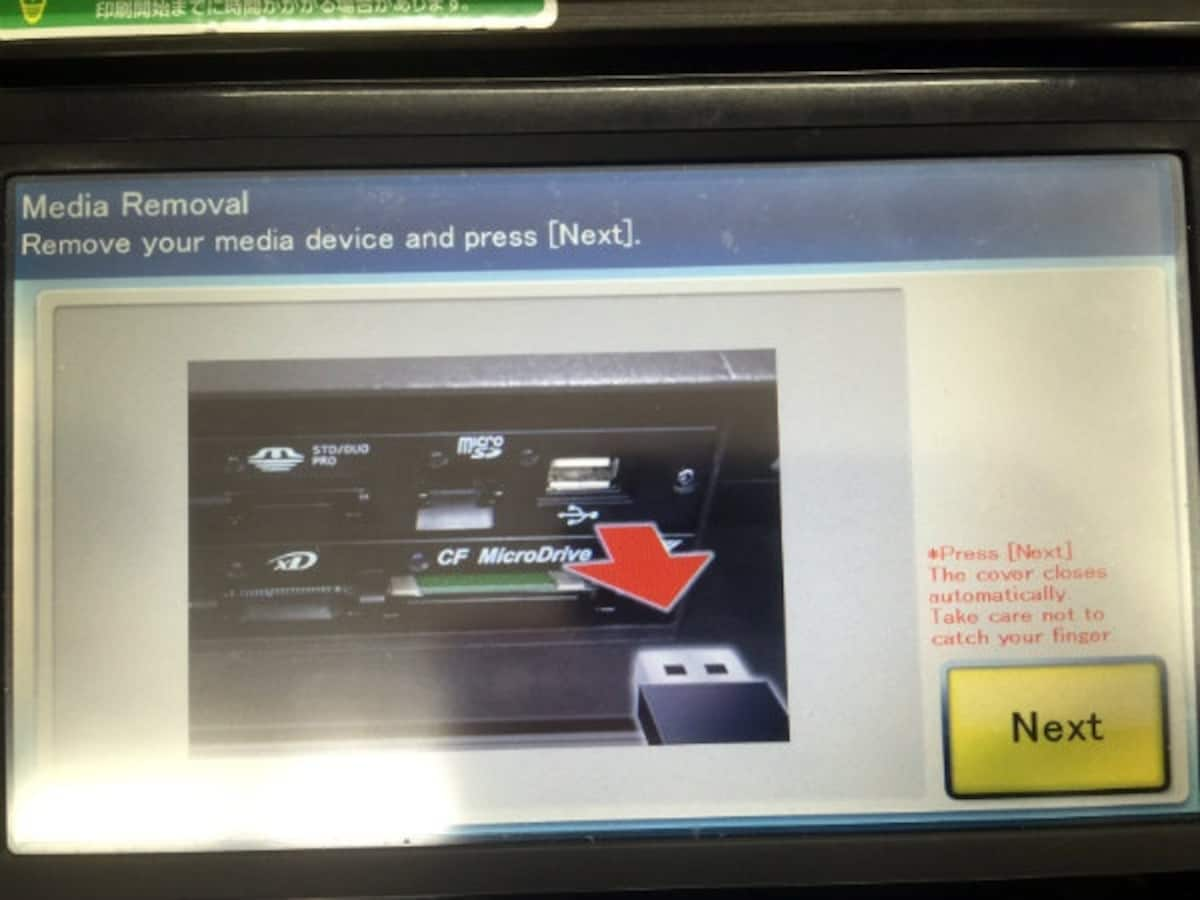
You'll then be asked to remove your memory device.
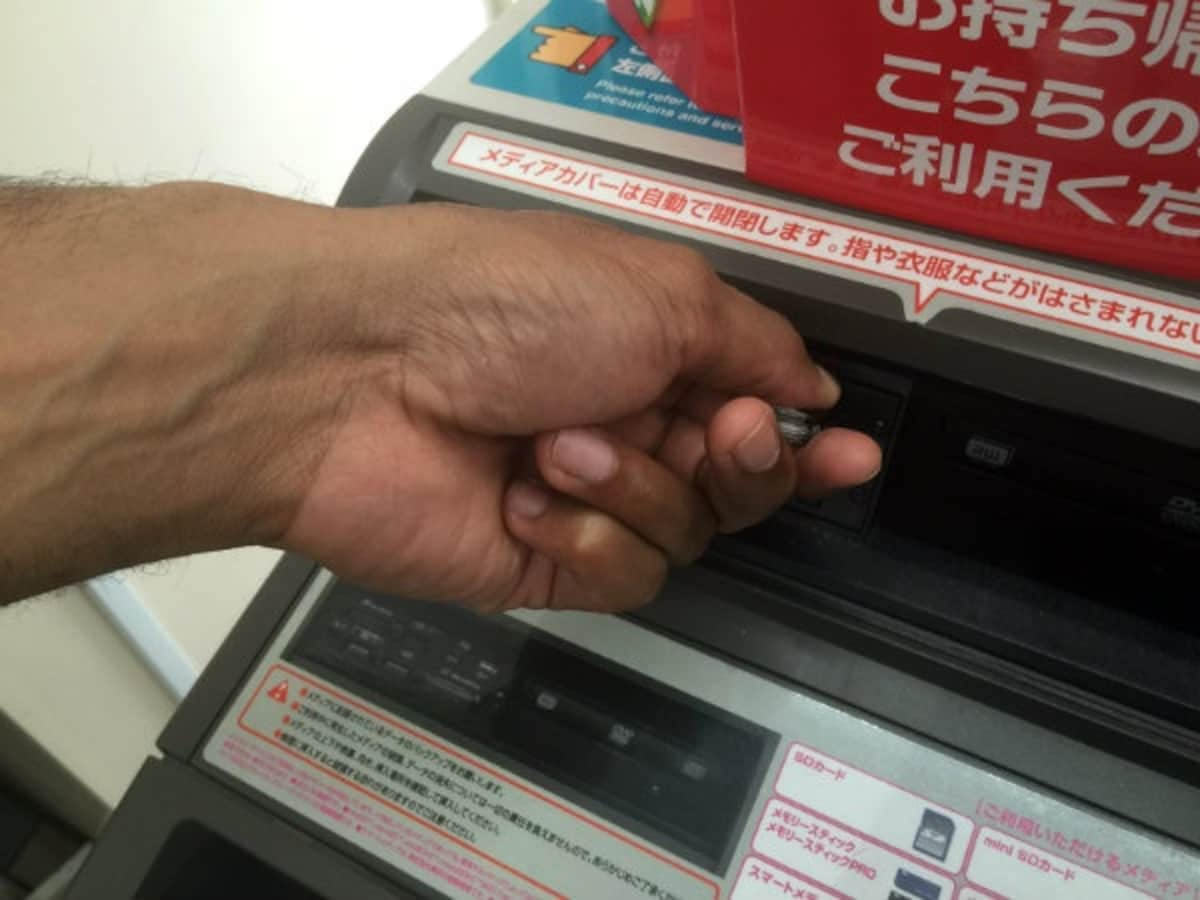
Once your memory device is removed, the slot will close again, so be sure to keep your fingers out of the way!

Then hit Next.

Lawson seeks to realize its Corporate Philosophy of "Creating Happiness and Harmony in Our Communities" by operating neighborhood stores centered on its chainstore development and operation in Japan. Since opening its first store 40 years ago in June 1975, Lawson has evolved in response to changes in lifestyles and the social environment, resolving inconveniences that arise in its communities.
lawson.jp